


Show me the location on the map
Similar articles
The zoo is at the cradle of my love for Tyrol. It awakened in me the longing…
I commute a lot between Innsbruck and Vienna and I know the advantages of both cities. Many…
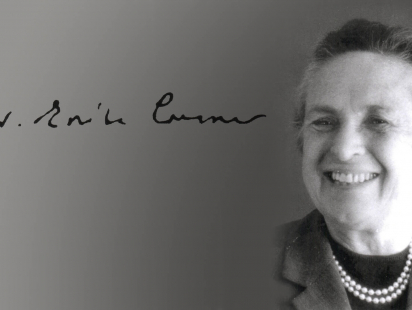
The physical chemist Erika Cremer (1900-1996) is one of the most important research personalities of the University…

Innsbruck's city centre offers unique photo motifs, whether with a smartphone or a professional camera. The following…